Saves Time

Improve Accuracy
Easy-to-use

Proven Solution
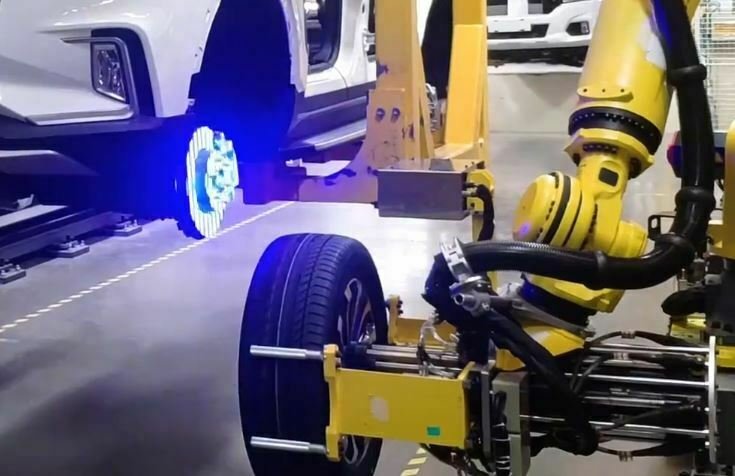
Productivity Breakthrough with Vision Robot Guide
As robots and high-resolution 3D cameras become more affordable for manufacturers, there is a growing demand to deploy them on the production line for robot guide 3D inline quality control, automated assembly, pick and place, and other tasks.
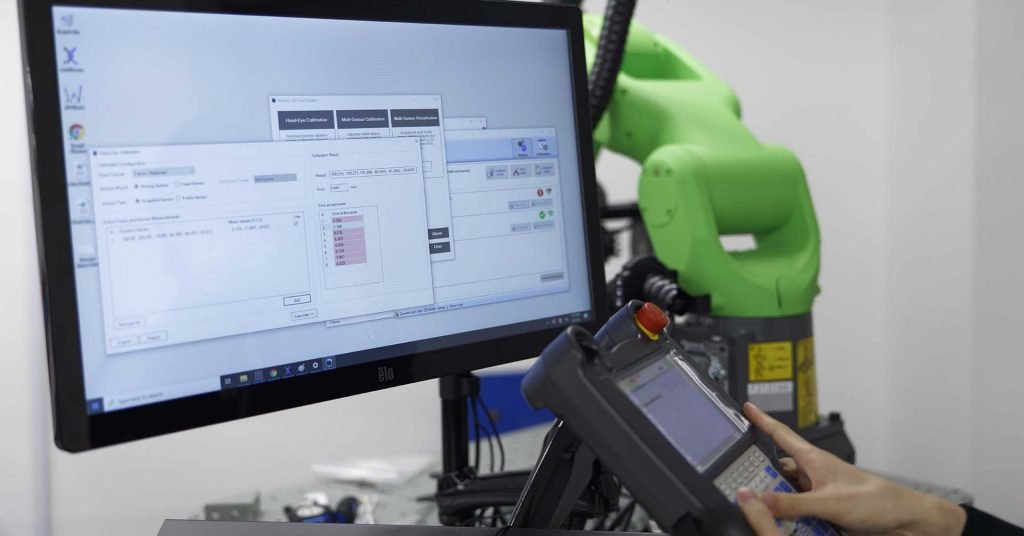
To effectively marry 3D vision and robotics to boost productivity and realize cost savings, hand-eye calibration is crucial for project success.
Robot Hand-Eye Calibration Simplified
The Robotic 3D Vision Toolbox simplifies and streamlines the calibration process to speed the deployment of vision-guided robotics systems in the manufacturing process.
Built-in Library of Common 3D Cameras and Industrial Robots
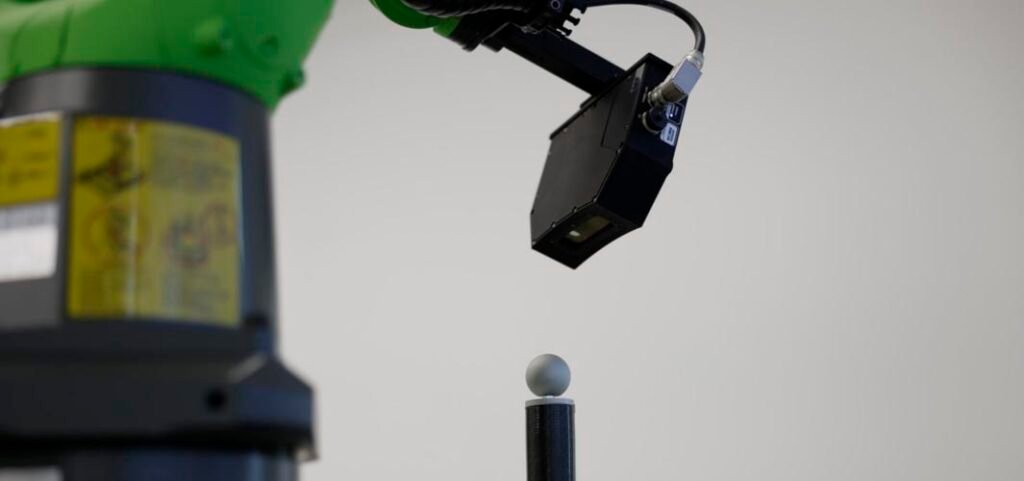
Eliminate the manual data entry of robot and camera information using our built-in library of common model parameters. Specifications are continuously updated via the cloud as manufacturers release new models.
Accurately Calibrate 3D Laser Scanners and Cameras with Ease
Achieve high-accuracy 3D scanner calibration without any third-party software using our high-precision calibration artifact and built-in point-cloud editing software:
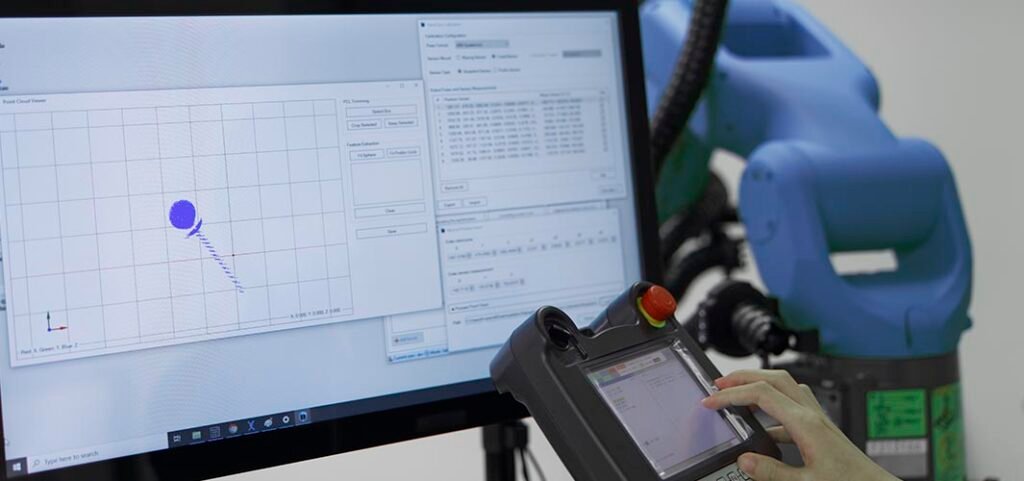
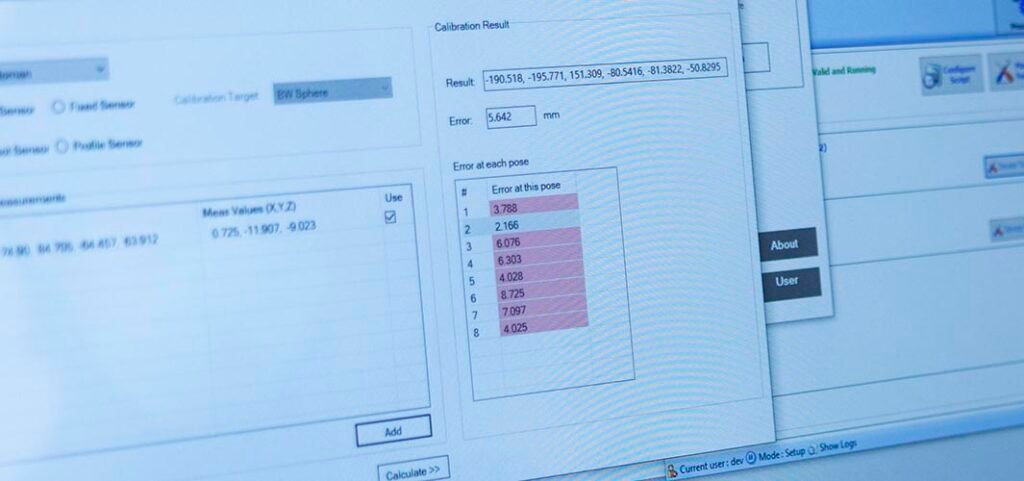
Instant Error Analysis of Calibration Result and Pose Error
At the end of the calibration process, the Robotic 3D Vision Toolbox automatically outputs a result that estimates errors in the hand-eye calibration. Since the calibration error is the culmination of the pose error, our report breaks down the individual error at each pose to assist with troubleshooting.
Simplify Multi 3D Camera Calibration
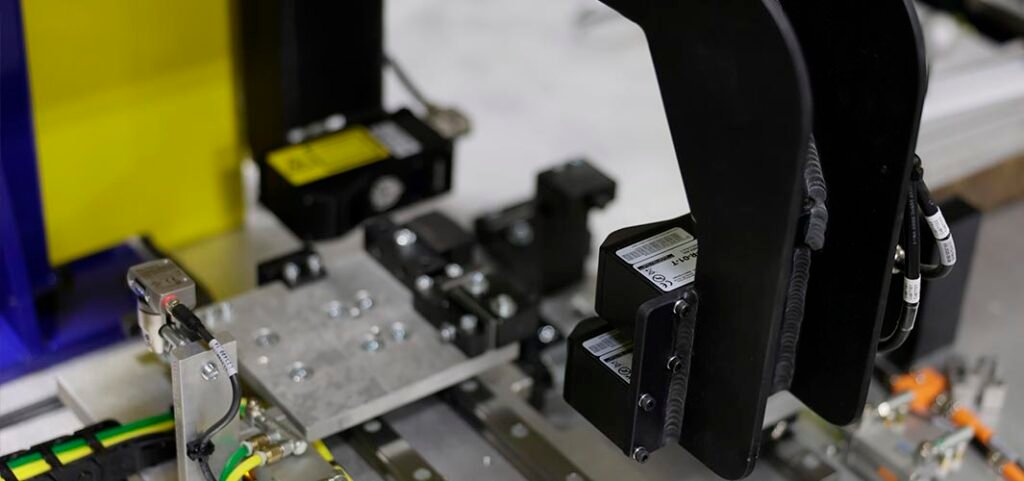
The Unblink3D Calibration Toolbox eliminates the complexity and guesswork in multi 3D laser scanner or camera calibration:
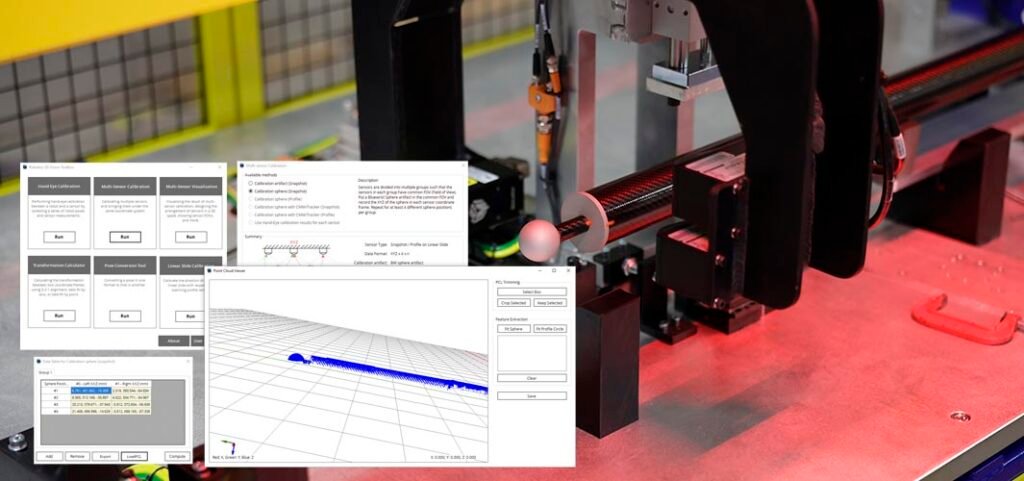
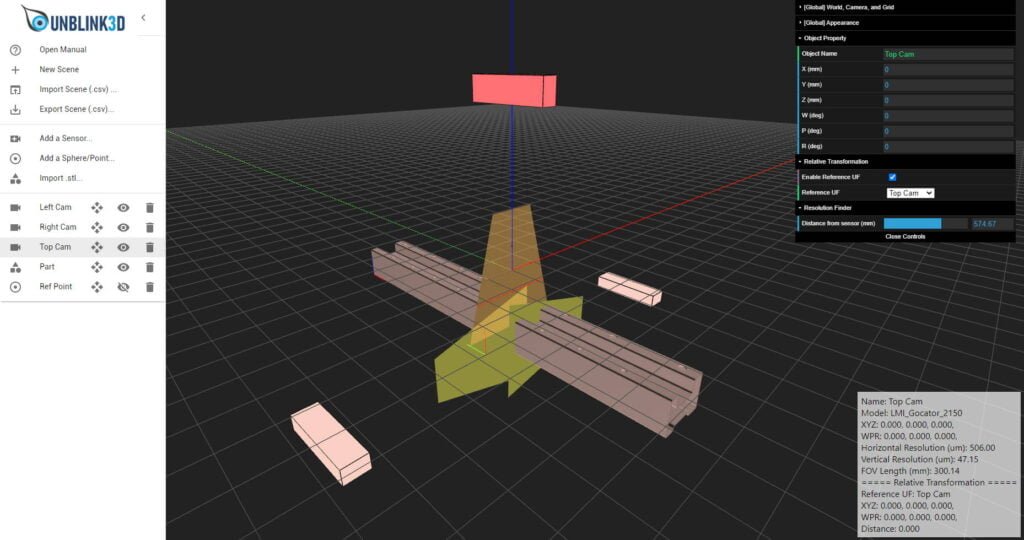
3D Laser Scanner Visualization Tool
Our visualization toolbox simplifies project design using multiple 3D cameras. Preloaded with a large database of popular 3D camera specifications such as resolution, FOV, and housing size, the visualization toolbox makes system design and verification possible.
Demo Videos
Multi 3D Camera Calibration Demo
Demonstration on using the Robotics 3D Vision Toolbox to perform multi-camera calibration and measurement to achieve metrology-grade automated inspection result.
Speed up the design and planning of 3D camera scan paths to ensure a complete representation of the target inspection surface using the least amount of cycle time while maintaining superior 3D point cloud quality.
Improving Robot Accuracy with Automatic 3D Scan Matching
Fixturing is essential for quality results in manufacturing and undetected variations or faults may lead to defects or recalls.
Using automatic 3D scan matching of production parts, the built-in 3D point cloud mapping and editing software can calculate the exact location of the part relative to the fixture.
Unblink3D solution can then automatically compensate for variations and helps maintain a robot path accuracy of up to 0.5 mm to ensure consistent and repeatable results.


